Related
Quick Links
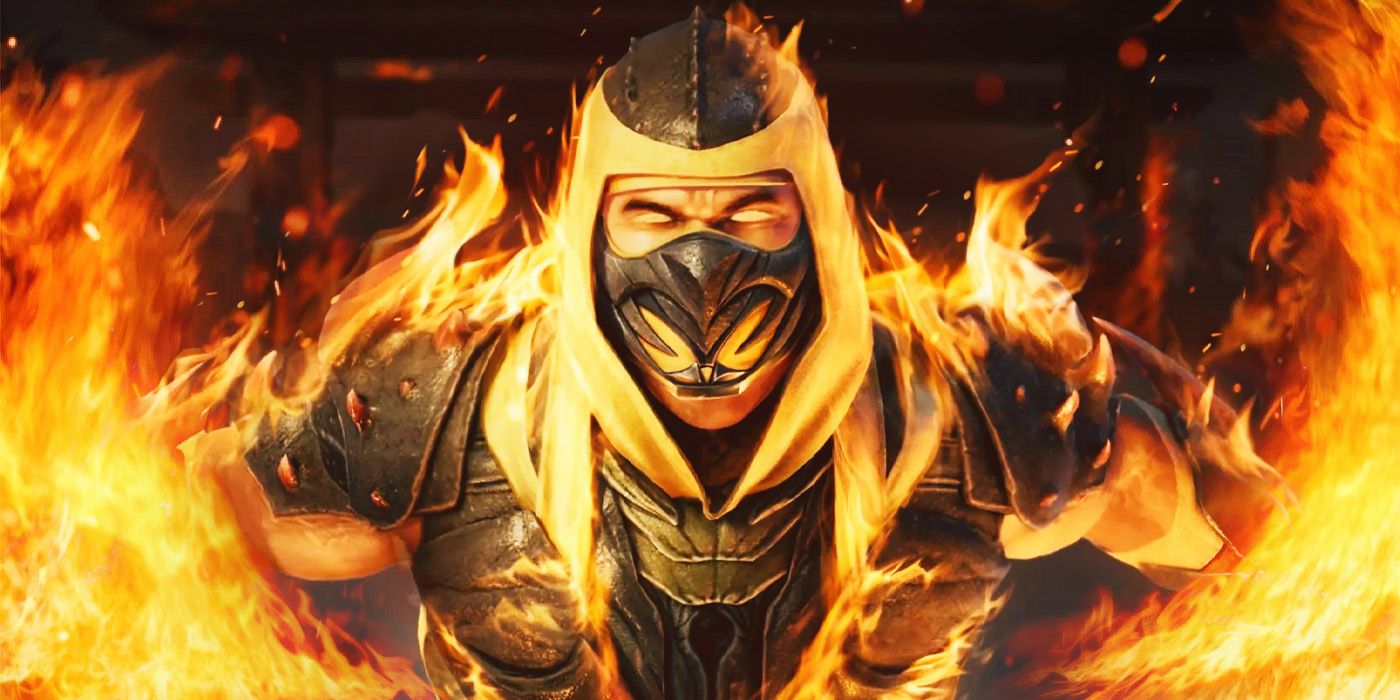
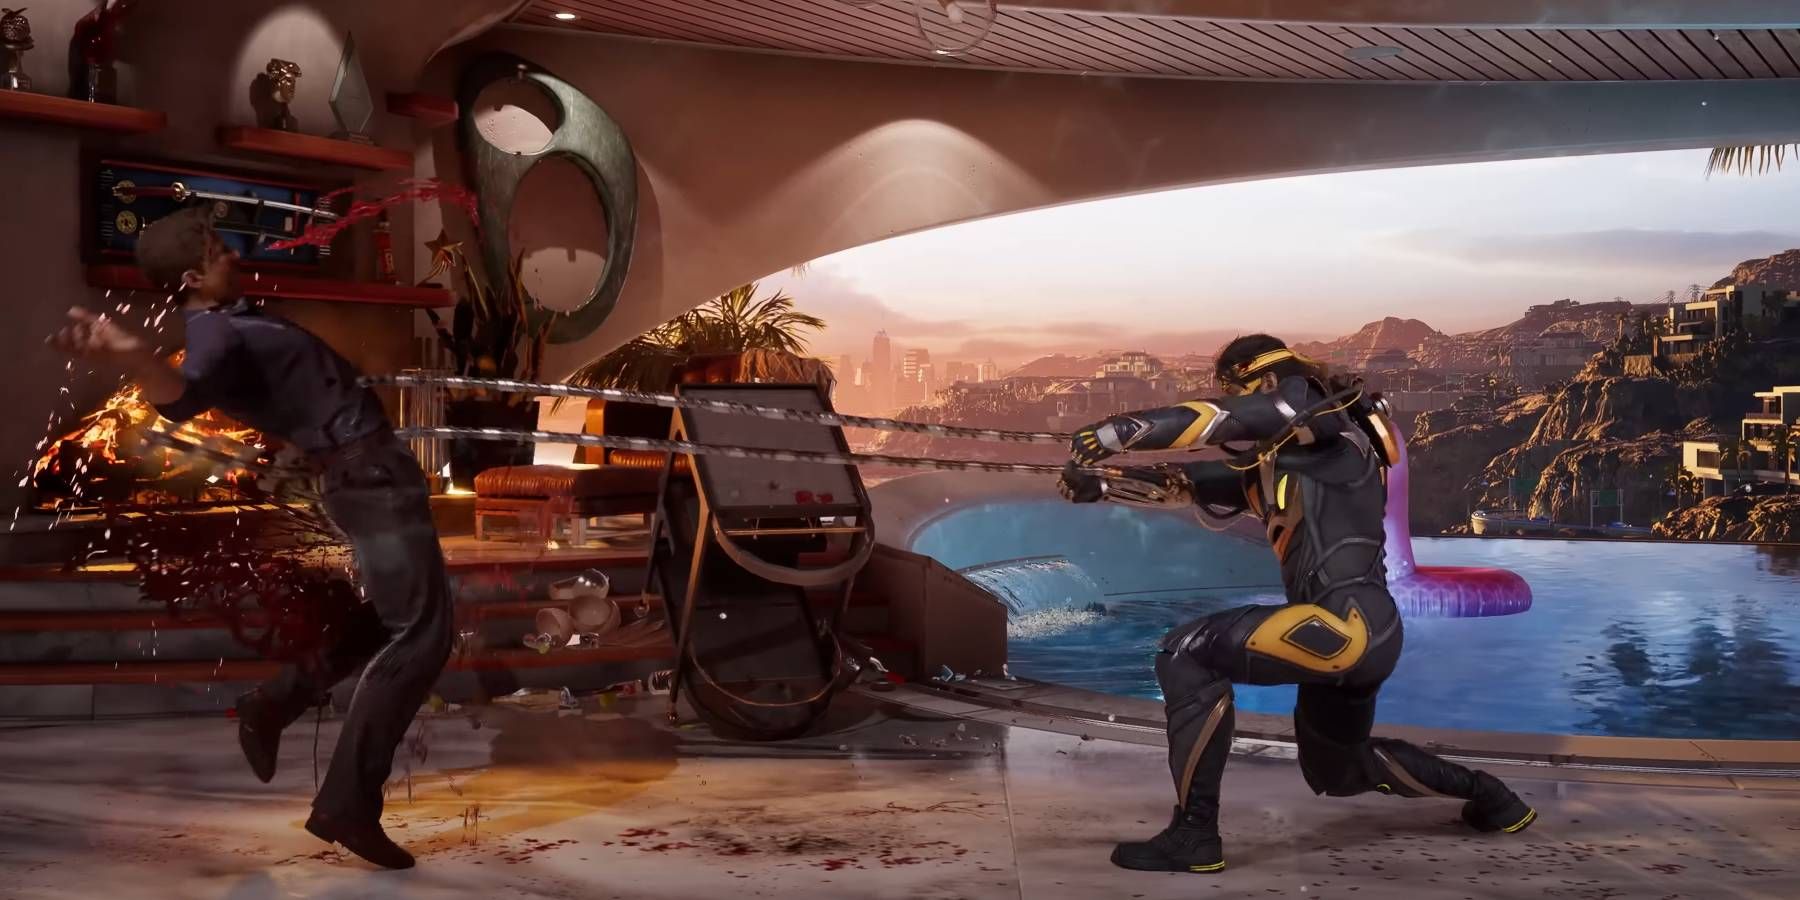
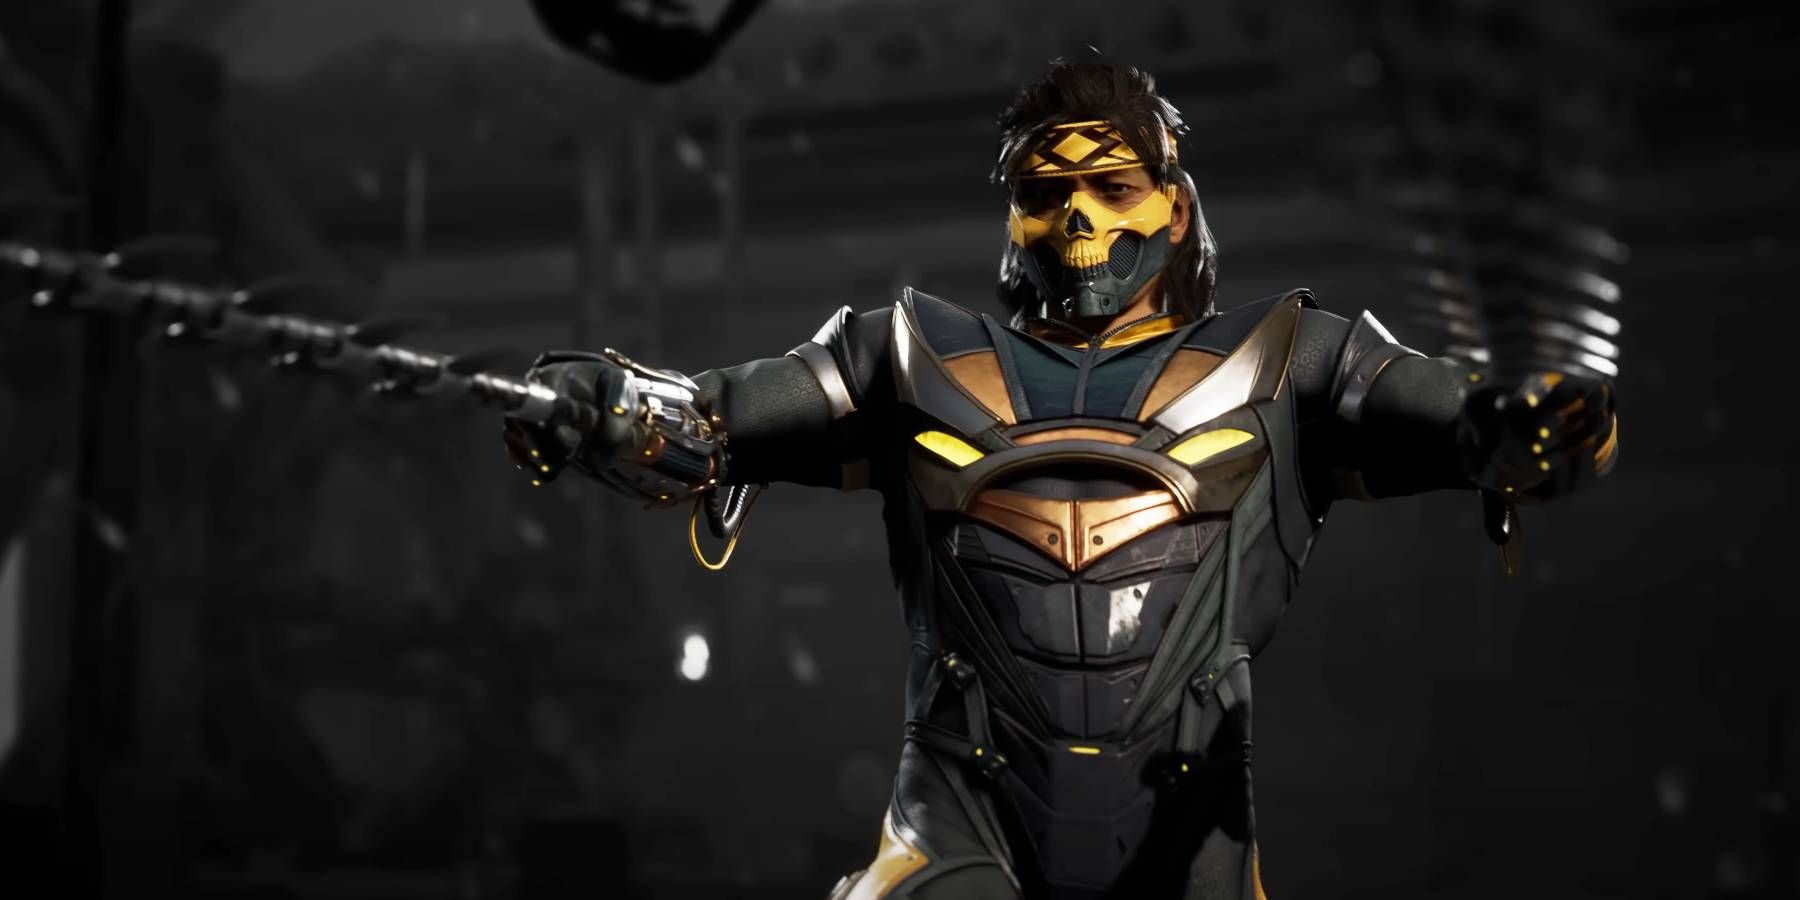
The final character forMortal Kombat 1 ’s Kombat Pack DLC is Takeda , a hark back fighter fromMortal Kombat Xwho come back with intimate combo and moves , but fresh fatalities for you to research . In the New Era , Takeda fare equipped with his duplicate chain of mountains whip once again with fast attacks to whelm his competition . Pairing Takeda with the right Kameo can create a squad quick to take on anyone .
Similar toHomelander inMortal Kombat 1 , you require to have purchased the Kombat Pack to have access to Takeda within the game . Takeda is the fifth DLC battler within this group and is the only returning scrapper from the serial publication alongside Ermac . Those who played Takeda inMKXwill make out many of his movement , but keep in judgement that the eccentric trifle very otherwise in this title ’s system .
The individual - histrion Invasion way of Mortal Kombat 1 has several rewards you may get for solving every Klue scattered around various table world maps .
Every Takeda Move
Whip Around Stages To Overwhelm Enemies
All theKombat Pack characters inMortal Kombat 1have the same rules as attack aircraft on the roster - they must perform Basic Attacks , Special Moves , or Aerial Attacks to wound opponents . These moves may require directional inputs to do various onslaught chain that all do unique sum of money of damage . Feel free Togolese Republic into Training Mode to see what moves doand visual illustration of every fire Takeda has .
Basic Attack
How To Perform ( PlayStation 5 )
wrong
Block Type
Tempest Strike

Square
20.00
high-pitched
rick Blades
Square , Triangle
39.00
Mid
demon Slayer
Square , Triangle , Triangle + Circle
50.00
Overhead
Forest Faller
Square , Circle
70.00
Low
Mugen
Forward + Square
30.00

Rising Suns
Forward + Square , Triangle
48.50
Ryujin
Forward + Square , Triangle , Triangle + Circle
Falling synodic month
Forward + Square , Circle
58.50
Iron Breaker
Down + Square
Low Slash
Down + Back + SquareORDown + Forward + Square
Solar Striker
Triangle
Stomach Smasher
Triangle , Square
Meteor Slam
Triangle , Square , Triangle
Gate Splitter
Back + Triangle
Temple Razer
Back + Triangle , Square
Twin Fangs
Back + Triangle , Square , Triangle + Circle
Serpent ’s Tail
Forward + Triangle
Spirit Raiser
Down + Triangle
140.00
Ashi
X
Ankle Biter
Back + X
Prey Maker
Back + X , Circle
Klog Kick
Down + disco biscuit
Kami Kick
Circle
Tengu Tearer
Circle , X
Whip trip-up
Back + Circle
Hurrikane Kick
Forward + Circle
Wheel address
Down + Circle
Shove
Forward + L1ORForward + Square + X
130.00
cast off
100 Yen Technique
L1ORSquare + Adam
110.00
Aerial Attack
How To Perform ( PS5 )
Night ’s Veil
spring Forward + Square
Devouring Shadow
Jumping Forward + Square , Square
Forbidden flaming
jump off Forward + Square , Square , Triangle
85.60
Dark Flash
jump Forward + Square , Square , X
90.00
Lasher - ation
Down + Forward + SquareORDown + Forward + Square
Wolf Fang
Jumping Forward + Triangle
Beast ’s Klaws
Jumping Forward + Triangle , Square
45.00
Sparrow ’s Spike
Jumping Forward + Triangle , Circle
63.00
Falcon Dive
skip Forward + Triangle , Circle , Square + Adam
86.50
Slasher - ation
Down + Forward + TriangleORDown + Forward + Triangle
Waterfall Splitter
Jumping Forward + XORJumping Forward + Circle
Unlike Basic or Aerial Attacks , Special Moves can be empowered when you press R2as you perform them during a fight . Spending one bar of Super Meter can cause each move to have unexampled properties , such as tot up armour or increase its damage .
Special Move
Description
Shooting Star
Down , Forward , Square
Takeda throws an explosive shuriken onto the earth near his opponent ’s foot . you may hold forward , back , or up to make this projectile land far , tight , or very far across a stage respectfully . The enhanced edition of this move throws three Stars across the point that detonate in fast succession .
Smart Shuriken
Down , Back , Square
Takeda once again throws a shuriken to the ground whose placement can be controlled by the direction you entertain . However , these do n’t explode and several can be placed on a point at the same time . These disappear quickly unless you manually blow up them by throwing a Shooting Star or Falling Star rocket near them . Smart Shurikens that irrupt bulge an opponent up for a jazz group if they get come to .
Falling Star
( Air ) Down , Forward , Square
While leap , Takeda can befuddle an exploding shuriken toward the solid ground once again free-base on the guidance you hold . These projectiles explode Smart Shurikens already on the priming . The enhanced variant causes three detonation like Shooting Star , but the explosion can be delay if you hold Square .
( Air ) Smart Shuriken
( Air ) Down , Back , Square
Same as Smart Shuriken , but only used when Takeda is in the air from a jump .
twofold Spear Ryu
Back , Forward , Triangle
Takeda launches both chemical chain whips at his opponent , latching onto them , dragging himself forwards , and striking them with his knee . The enhanced version of this move down an foeman up for a combo . sustain forward during the empowered version prevents Takeda from exchange sides when launching an opponent .
Spear Ryu
( Air ) Down , Back , Triangle
While jumping , Takeda film a spear whip at a diagonal angle toward an opposer , pulling himself down for a kicking that interchange sides . The enhanced version pulls the enemy hero up to Takeda for an aerial jazz band .
Swift Stride
Back , Forward , X
Takeda sprint forrard with a command panache that move very chop-chop to kick opponent . The enhanced interpretation of this move has armor .
( Cancel ) Swift Stride
( During Swift Stride ) Down
Takeda can stop the forward movement of Swift Stride , stopping in front of the resister after close up the distance .
Swift Stride Phase
( During Swift Stride ) UpORBack
During Swift Stride , Takeda teleports behind an opposer , deepen the normal Mid flush into a slower but knockout - to - stop Overhead onslaught that launch an enemy into a jazz band .
Rushing Nimbus Technique
( Air ) Back , Forward , X
alike to Swift Stride in the air , where Takeda dashed forward to perform a swift kick . This move is normally used at the remainder of a jazz band .
Rushing Nimbus Attack
( Air ) Down , Back , X
Takeda swings on his whip like a forget me drug , knocking into his opponent several times . enhance this move will keep a rival in the line long enough for Takeda to follow up this move with an aerial jazz group .
Tornado Kick
Down , Back , Circle
Takeda spin forward to hit the opponent with an Overhead flak . hold back or forward make Takeda to land this attack either faithful or far . This move can also be perform in the air . The enhanced version plunge an opposer for a combo .
Whip prowess : Wretched bump
Down , Forward , Circle
Takeda sets a whiplash on fire before lashing it outward into his opponent . enhance this move increase its wrong .
Whip prowess : Scattering wind
Only after Whip Art : Wretched Blow , Takeda follows up one burn whiplash strike with another , which stumble together in a chain of attacks .
Whip Art : disturbed Dance
Only after Whip Art : Scattering Winds , Takeda uses a third and final party whip bang that murder Overhead to pink opponents down in the last hitting of this exceptional move chain .
Whip Art : Death
Down , Forward , Circle + R2
Only after Whip Art : dissipate Winds , Takeda launches an opponent into the air for a jazz group instead of knocking them down for the third strike of the Whip Art approach chain . This is technically the enhanced version of Whip Art : Mad Dance .
The Best Kameos For Takeda
String Together Some Devastating Combo Techniques
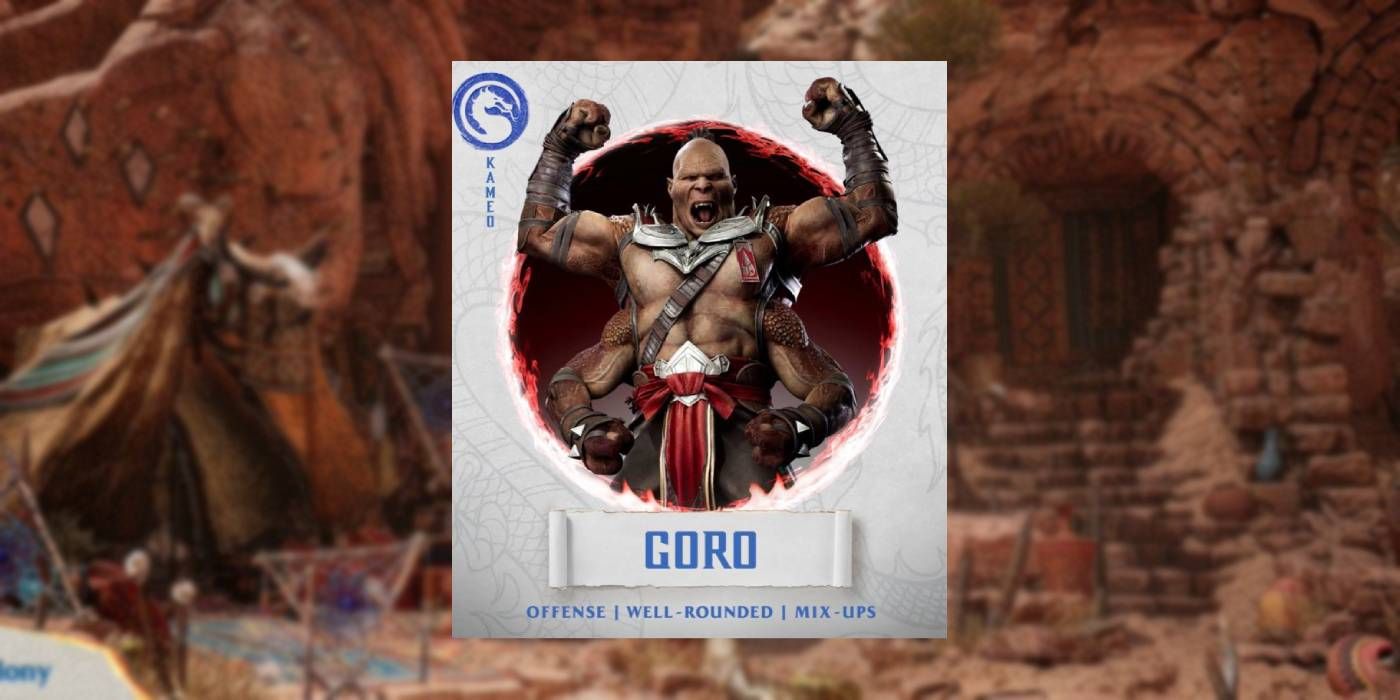
Some of thebest Kameos inMortal Kombat 1areGoro , Mavado , orCyrax , but the one that is good for you depends on what kind of offense you form with Takeda . The update to the game has better many Kameos , making it harder to make up one’s mind which single twin with dissimilar lineament best . However , some of Takeda ’s consistent metier synergize the most with characters who can improve his potent qualities .
Mavado is a Kameo that function similarly to Takeda , with whip of his own and a variety of trap to create safety machine . The dodgy offense of Takeda can open opponent up to Mavado ’s electric maw to make unique combo situation . In addition , the long - mountain range whip of Takeda are compliment by Mavado ’s surprise onslaught from behind and above enemy fighters , prepare you severe from anywhere on a level .
Mavado is also a nice defensive assist as well since he can be used to armor Takeda and launch himself into an opponent to barricade them from starting a combo against you .
Cyrax ’s late change make the automaton a perfect Kameo partner for Takeda due to their bomb calorimeter and nett assist attacks . When you catch an opponent in Cyrax ’s mesh , you could easily adjust up Takeda ’s Smart Shurikens to lie down explosives needed for a flashy combo or a style to create slick offensive pressure . The bomb used by Cyrax can be combined with these Shurikens to plough a point into a minefield your rivals will have a backbreaking time navigating .
Goro can also be used reliably with Takeda by oppressing opposition characters and increase your overall combo damage . On his own , Takeda does n’t contend to impose laboured damage with the correct jazz band , but Goro can be used to increase the injury you bring down by a substantial amount . With assists that surprisingly snap up antagonist or create rafts of pressure through puncher , Goro can make your offense extremely hard to overcome .
How To Play Takeda
Don’t Let Enemies Approach With Whip Strikes
Mobility and kitchen stove are the two tool that have defined Takeda ’s prick kit in the yesteryear , and the same philosophies stay on inMortal Kombat 1 . Takedacan use whiplash attack to keep enemies at baywhileusing Overhead and Low strikes with firm move to afford up defensive foes . Many Basic Attacks extend Takeda ’s whip to dominate the mid - range , prevent character with shortsighted attacks from getting too closelipped .
The mountain chain you create with Takeda gives you enough time to set up Smart Shurikens on the ground , especially if you are couple with a defensive Kameo . Once you have one or more rocket hold back , you’re able to use Swift Stride to try and unfold up your opponent or try on to catch them whiffing attacks with either interlingual rendition of Spear Ryu . f number turns into explosive business leader with Takeda as you punish enemies severely for make a mistake .
Do n’t forget to use a Fatal Blow fire when you have your Kameo and are in low wellness with Takeda . This powerful technique deals huge damage and can be used again if you miss it after a short recharge sentence .
Using the Whip Art moves or Tornado Kick can help to continue your mid - range pressure with Takeda in addition to his regular attacks . Try toimplement the different range of mountains of various special movesto throw your opponent off , as they will be unable to tell where your attack are coming from . The less likely your enemy knows what you ’re doing , the more prospect you will have to land jazz band and deal price .
Sample Combos With Takeda
Launch Opponents Into The Air With Long-Reaching Attacks
Due to the long range of many of Takeda ’s onrush and moves , you will be encounter more opportunities to combo your opponent than with most characters . Unfortunately , Takeda is not one of the bestcharacters for beginners inMortal Kombat 1simply because his combos are unbelievably detailed . While not too hard to perform , the strongest jazz band require multiple launches or precise Shuriken placements to crop properly .
As you’re able to see in the above video by YouTube creatorDaryus P , jazz band are made with building block of Takeda ’s moves put together one after the other . try on to complete each whole step at a time separately or else of trying to complete the entire jazz band in one attempt . While you wo n’t be able to do this in a match , you may apply each step carefully in Training Mode to make it easy to use together when competing against another role player .
Some introductory jazz band you may use as you are learning Takeda are :
How To Do Takeda’s Fatalities
Opponents Will Never Lash Out Again
abbreviate your opposite ’s wellness to nothing will make them to enter a staggered nation where you’re able to execute a unrelenting human death . Fatalities inMortal Kombat 1are finishers that turn fighters into a bloody mess throughout a gory cutscene that enforces an already crimson victory . You canlevel up Takeda by using him in matches regularlyto unlock his two fatalities , which are done using a specific input .
Mortal Kombat 1 has some of the best Fatalities of any plot in the dealership ; however , some of its fatality are far more brutish than others .
Fatality
Range
PlayStation
Xbox
Switch
Millipede ’s Bite
Down , Forward , Down , X
Down , Forward , Down , A
Down , Forward , Down , type B
Fatality # 2
Back , Forward , Back , Triangle
Back , Forward , Back , Y
Back , Forward , Back , X
Nothing drives home your winner more than a human death against a reference that was giving you a concentrated time during a fight . There are no penalties to using these finisher , except perhaps a newfound competition with an opponent who does n’t appreciate you obliterate off their preferred fighter . Those who acknowledge the right moves and combos with Takeda inMortal Kombat 1will have plenty of chances to see his fatalities as they carry on to get ahead .
Source : Daryus P / YouTube
